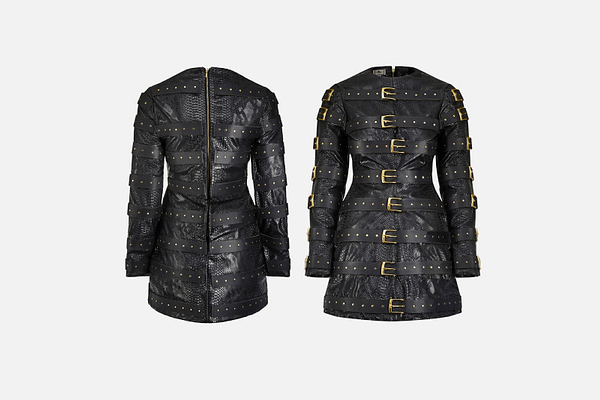
How to Do Ghost Mannequin Photography: A Step-by-Step Guide
Ghost mannequin photography, also known as invisible mannequin photography, is a popular technique used in the fashion and e-commerce industries. It allows clothing to be displayed in a way that gives it shape and form without showing the mannequin itself. This effect creates a more appealing and professional look, helping potential buyers better visualise the fit and style of the clothing. Here’s a comprehensive guide to mastering ghost mannequin photography.
Equipment You’ll Need:
- Camera: A DSLR or mirrorless camera with manual settings is ideal.
- Tripod: Ensures stability and consistency between shots.
- Lighting: Softbox lights or continuous lighting to reduce shadows and highlight details.
- Mannequin: Preferably a detachable one that can be easily edited out.
- Backdrop: A plain white or neutral-coloured backdrop.
- Photo Editing Software: Adobe Photoshop or a similar programme.
Step-by-Step Process:
1. Prepare Your Setup
- Backdrop and Lighting: Set up your backdrop in a well-lit area. Use soft, even lighting to minimise shadows. Position your lights at a 45-degree angle to the mannequin to create even lighting.
- Mannequin Positioning: Dress the mannequin with the clothing item. Make sure the clothing fits well and is free of wrinkles.
2. Shoot the Mannequin
- Camera Settings: Set your camera to manual mode. Use a low ISO (100–200) to minimise noise, a narrow aperture (f/8–f/11) for a greater depth of field, and a shutter speed that complements your lighting.
- Consistency: Use a tripod to ensure the camera remains in the same position for all shots. This consistency will make the editing process smoother.
- Take Multiple Shots: Capture front, back, and side views. For items with intricate details, take close-up shots as well.
3. Remove the Mannequin
- Inner Garment Shot: Remove the clothing from the mannequin and place it on a flat surface or hang it in a way that shows the inner back collar. This shot will be used to fill in the areas where the mannequin was visible.
4. Editing the Photos
- Layering: Import your photos into your editing software. Place the inner garment shot behind the main shot.
- Masking: Use the pen tool or a similar selection tool to carefully outline the areas where the mannequin is visible. Create a mask to remove the mannequin, revealing the inner garment shot underneath.
- Blending: Use the clone stamp or healing brush tools to blend any areas where the inner garment and the main shot meet. Ensure the lighting and colours match seamlessly.
- Final Touches: Adjust the brightness, contrast, and colours to make the image look as realistic and appealing as possible. Crop the image to remove any unnecessary background.
Tips for Better Results
- Attention to Detail: Pay close attention to details like seams, tags, and collars to ensure they are presented clearly and neatly.
- Post-Processing: Use high-quality editing techniques to remove any imperfections and ensure the clothing looks natural.
- Practice: Like any skill, mastering ghost mannequin photography takes practice. Experiment with different lighting setups and editing techniques to find what works best for you.
Conclusion
Ghost mannequin photography is an invaluable technique for anyone looking to showcase clothing items professionally. By following these steps and dedicating time to practice and refine your skills, you can create stunning, professional-looking images that will attract and engage potential buyers. Happy shooting!

